The usage guide
Everything TalkSense does, step by step.
From connecting your first account to wiring Claude or ChatGPT into your approval queue — this is the complete walkthrough, with real screenshots from a running instance.
01 · Setup
Getting started
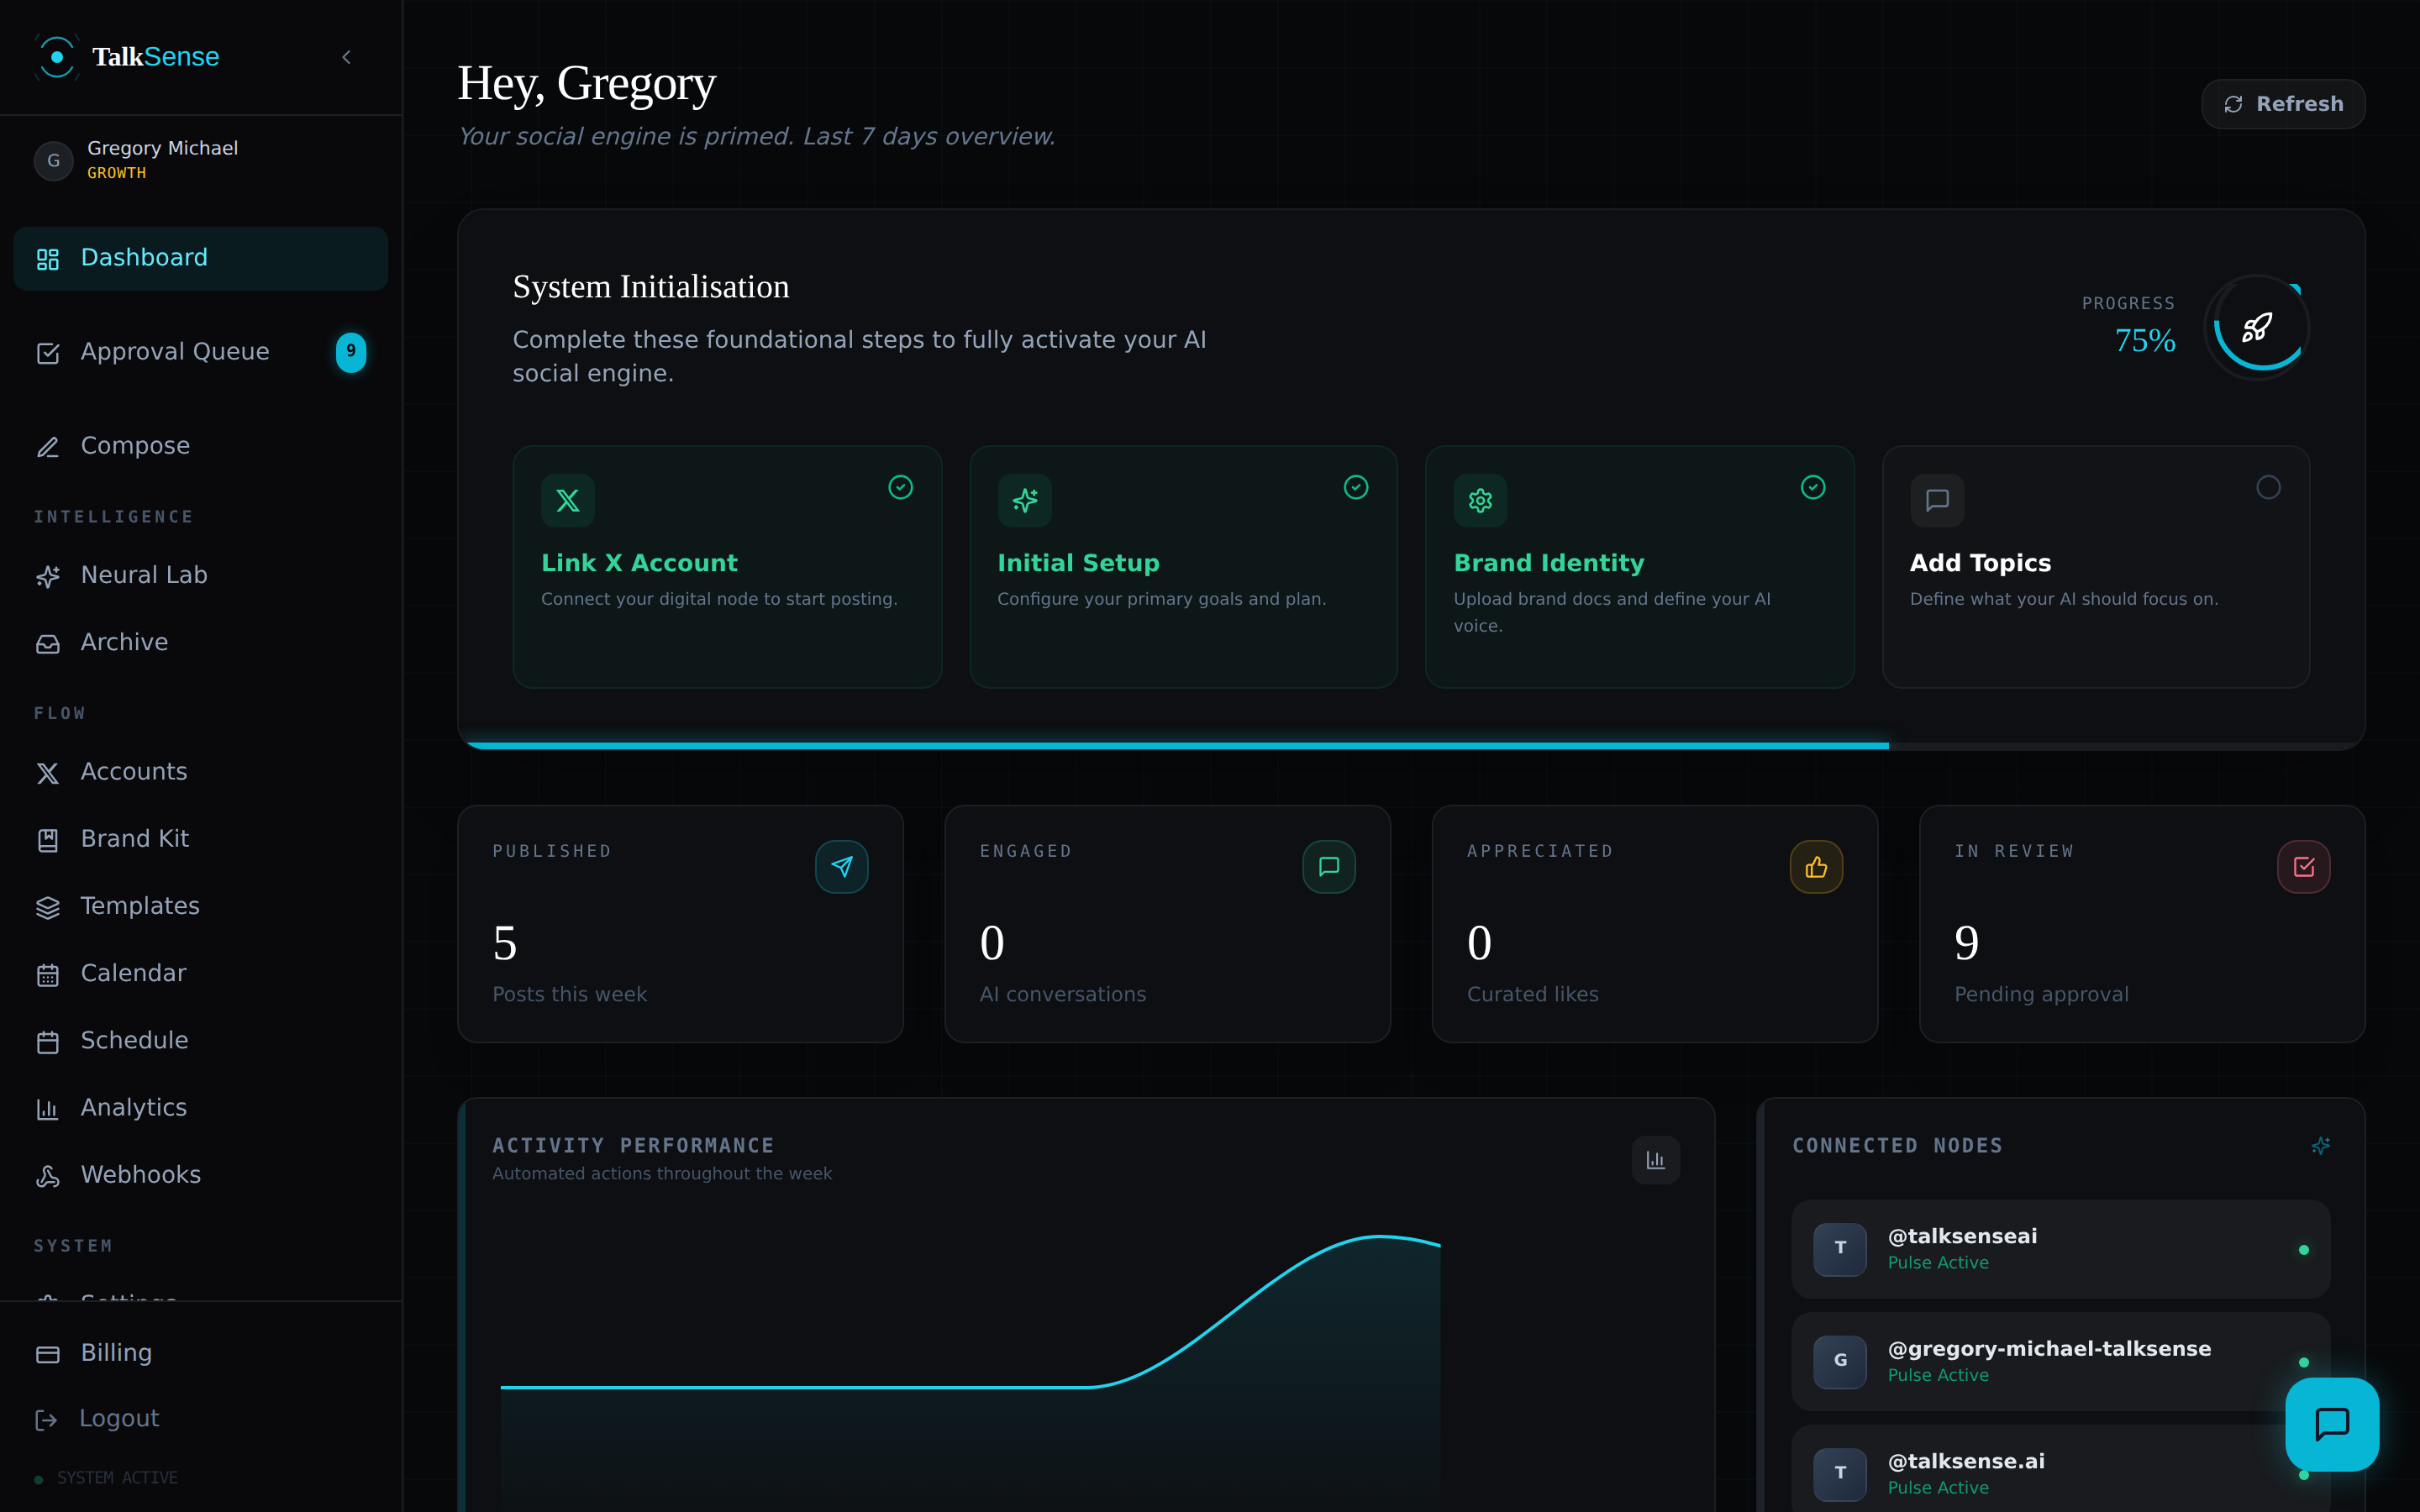
Four things get you from signup to your first AI-drafted post: connect an account, build a brand kit, let generation run, and review what lands in your queue.
01
Connect an account
Settings → Accounts → Connect. OAuth 2.0 for X, LinkedIn, Facebook, Instagram (via Facebook), or Threads. Tokens are encrypted at rest.
02
Build your brand kit
Identity, audience, voice guidelines, and reference files — this is what every generation prompt is grounded in.
03
Let it generate
AI post generation runs on your schedule; topic listening (if enabled) watches for conversations worth joining.
04
Review your queue
Everything lands as pending by default. Approve, edit, reject, or enable auto-execute per action type.
02 · Voice
Brand kit
Every piece of AI-generated content is grounded in your brand kit — it's injected into the prompt behind every post, reply, and draft, including ones created by a connected MCP client. Five sections, found under Brand Kit in the sidebar:
- Identity — Brand story, mission, vision, and core values.
- Audience & Market — Who you're talking to, your unique value prop, and who else is in the space.
- Visual — Brand colors and typography — used by the card-rendering system.
- Voice & Messaging — Tone guidelines, key messages, and explicit do/don't lists.
- Files — Upload reference docs — text is extracted and injected into prompts.
A completion score (0–100%) on the Brand Kit page tells you how much of this TalkSense actually has to work with — the higher it is, the less generic your output sounds.
03 · Content
Compose & the approval queue
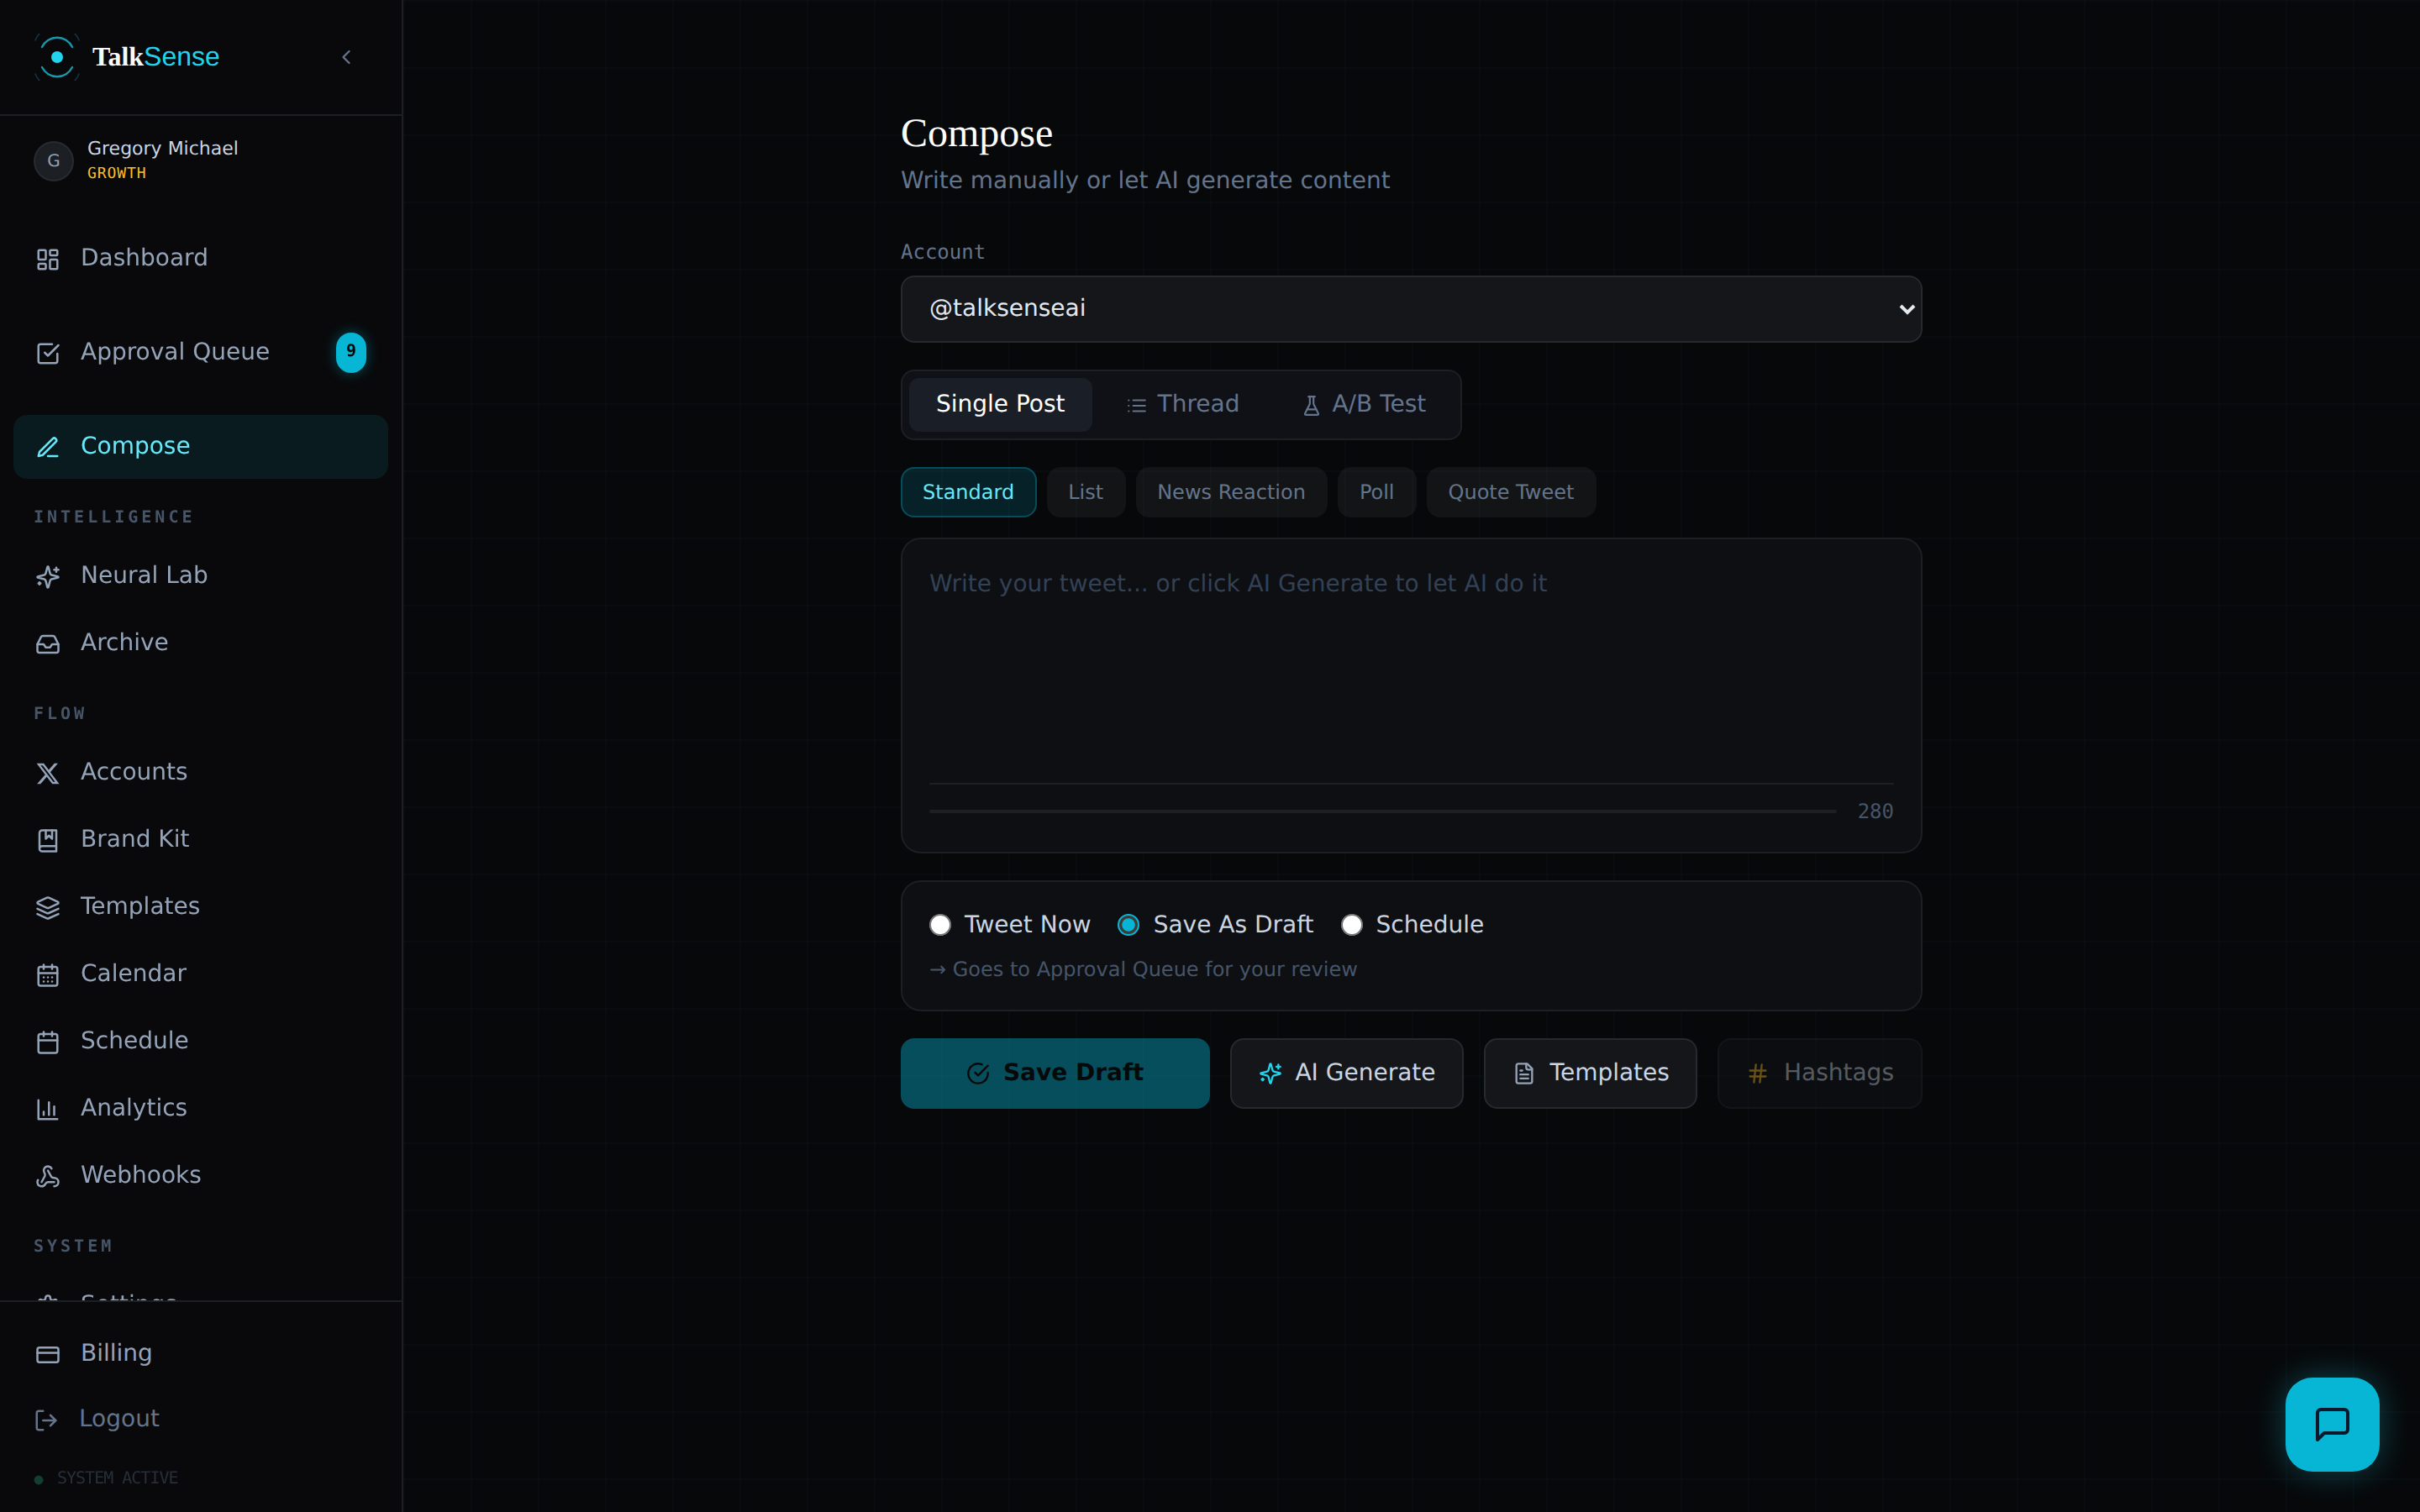
Compose supports three modes — a single post, a thread, or an A/B test with two variants — and six content shapes: standard, list, news reaction, poll, quote, and thread. Generate with AI, write manually, or start from a saved draft template.
Everything — AI-generated, manually written, or handed off by an MCP client — lands in the Approval Queue as pending, unless auto-execute is on for that action type and the AI's confidence clears your threshold. From the queue you can:
- Edit content inline before approving
- Approve or reject individually, or in bulk
- See live engagement metrics once a post is published
- Filter by account, type, or status
04 · Scale
Scheduling & automation
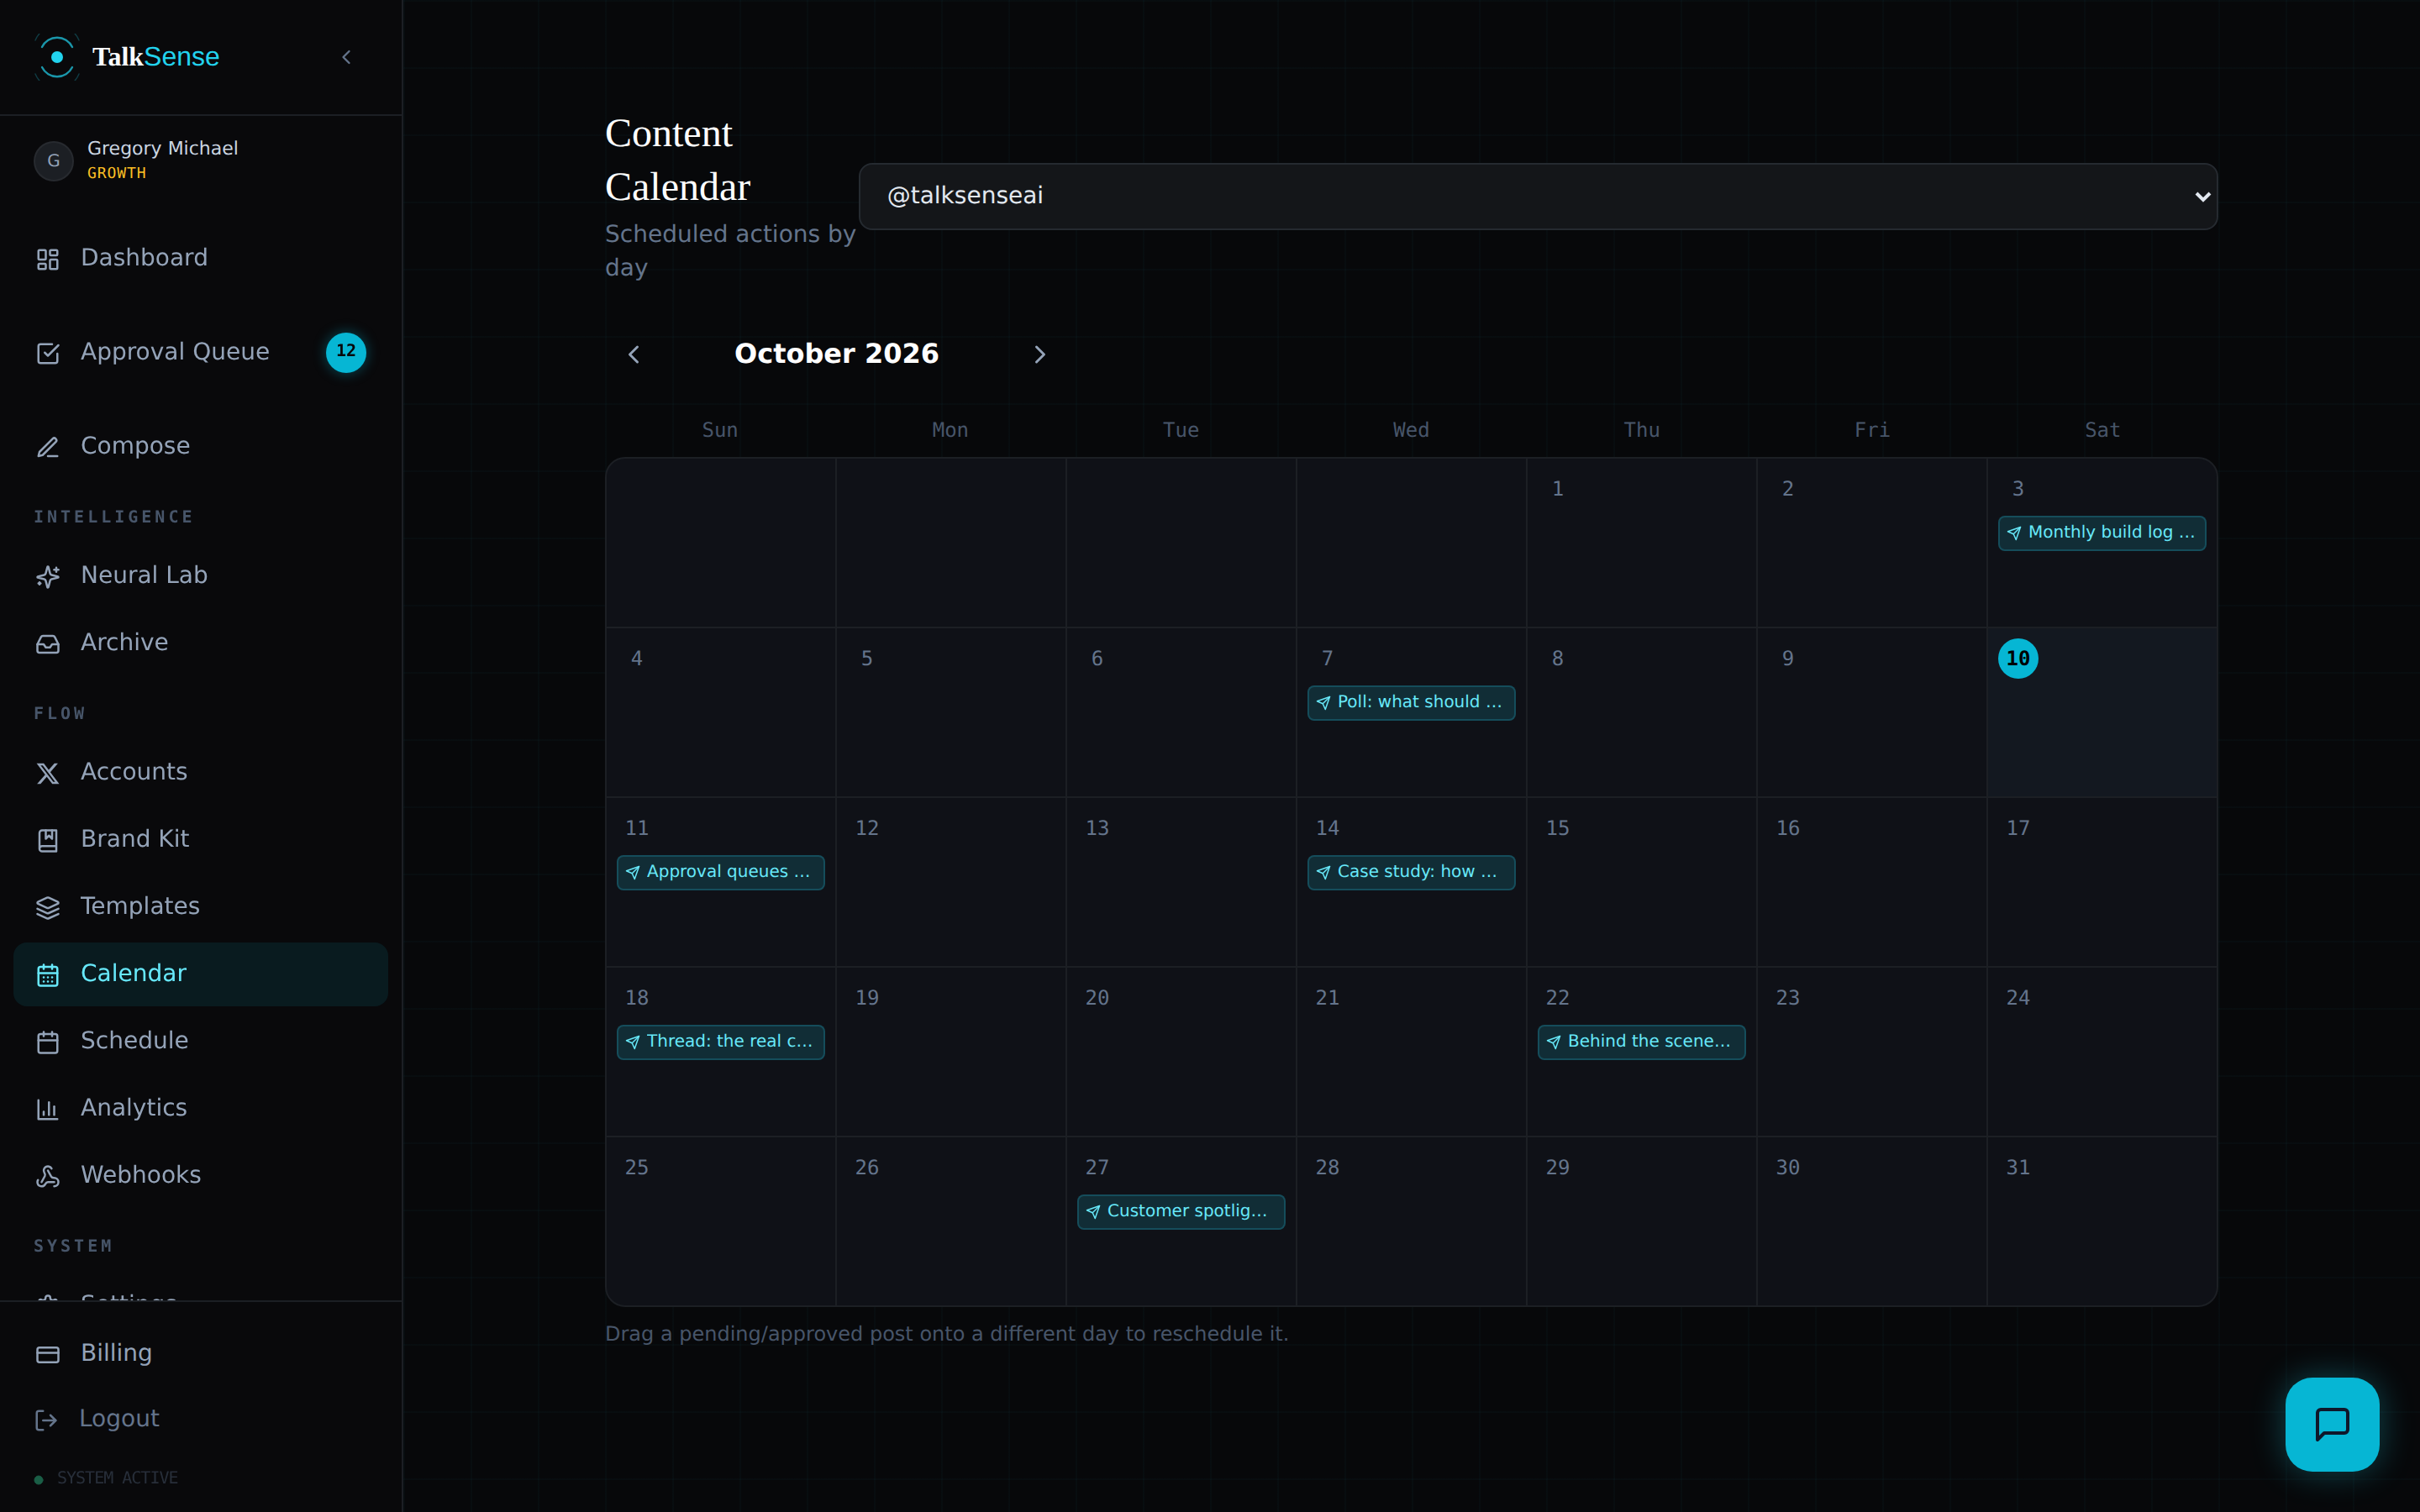
Content calendar
Drag a pending or approved post onto a different day to reschedule it — the underlying execution job moves with it, so nothing fires at the old time by mistake.
A/B testing
Compose → A/B Test posts two variants together; after ~24h, the one with more engagement is marked the winner. Auto-repost the winner is opt-in.
Evergreen recycling
Settings → Automation → Evergreen Recycling. Reposts your best-performing eligible old post on an interval you choose — it still lands in your queue first.
Hashtag intelligence
Compose suggests tags from what's actually performing on your account; Analytics ranks them by average engagement.
05 · Connectors
Connecting Claude, ChatGPT, and MCP clients
TalkSense runs an MCP server — the open protocol Claude, ChatGPT, and other AI assistants use to call external tools. Once connected, your assistant can look up your accounts, read your brand kit, and hand a finished draft straight to your TalkSense approval queue — using the subscription you already pay for, instead of TalkSense's own generation credits.
It's receive-only by design. An MCP client can create a draft — nothing more. Every draft lands as pending and waits for your review, regardless of your account's auto-execute settings.
Generate an API key
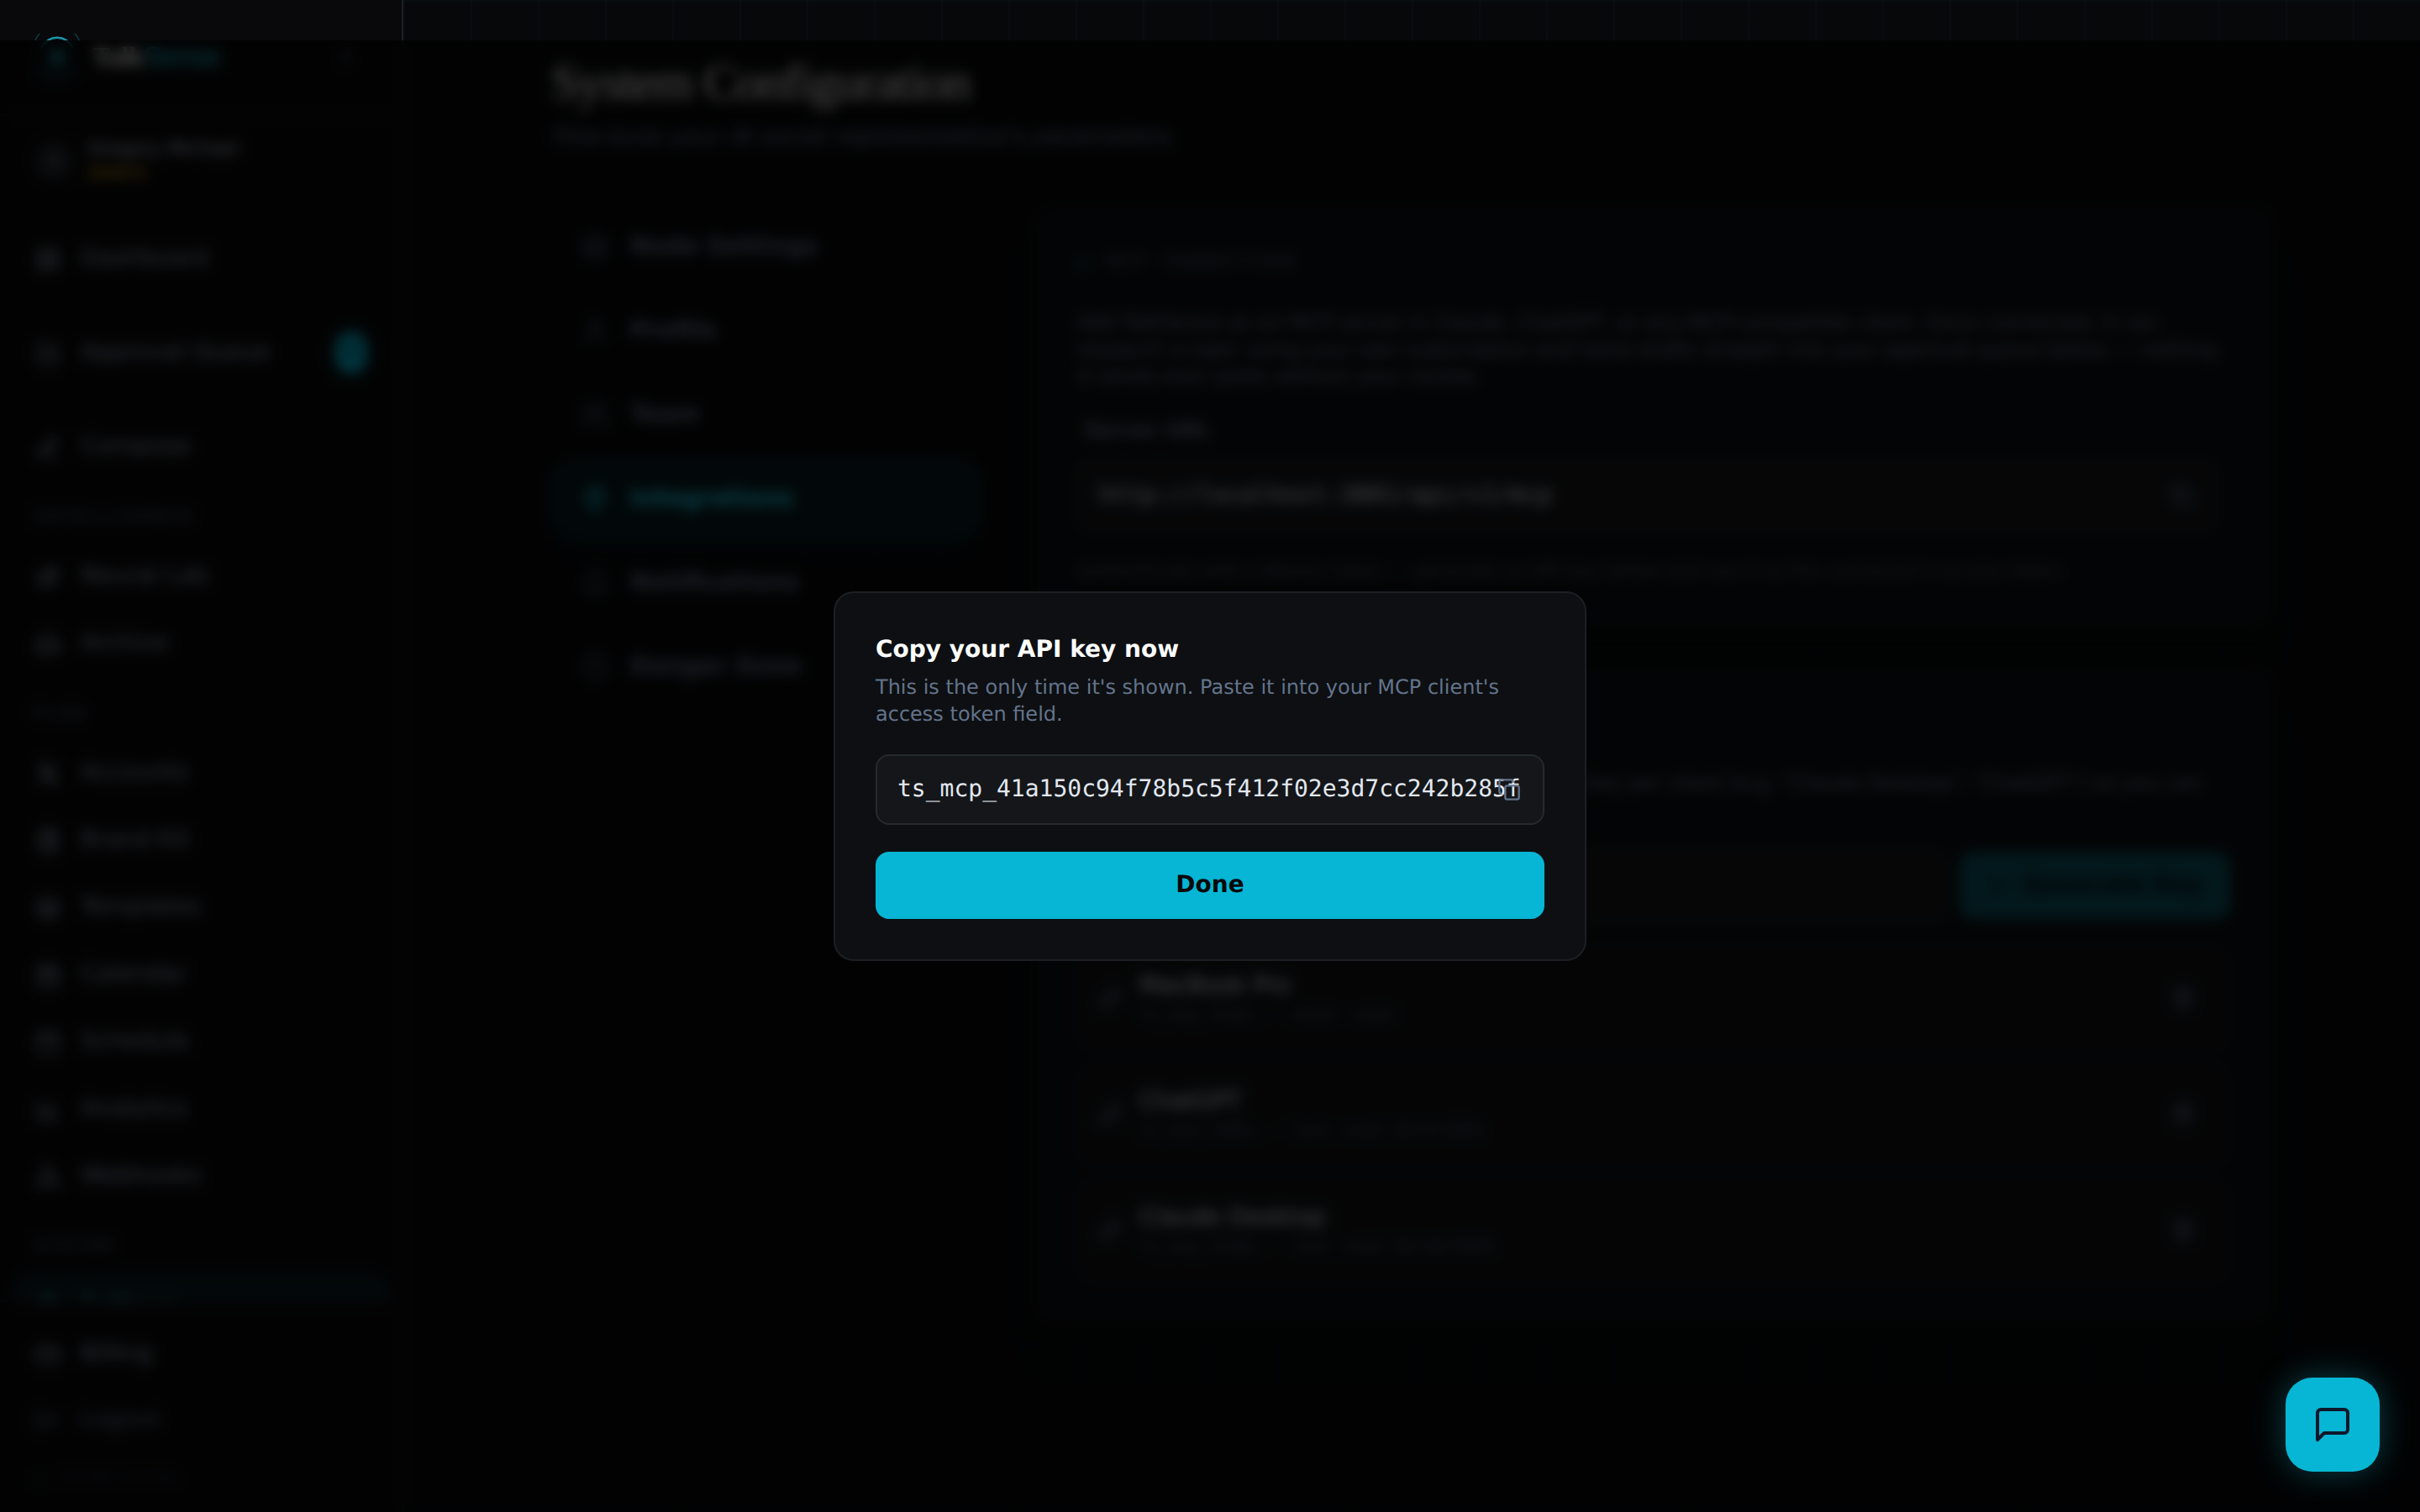
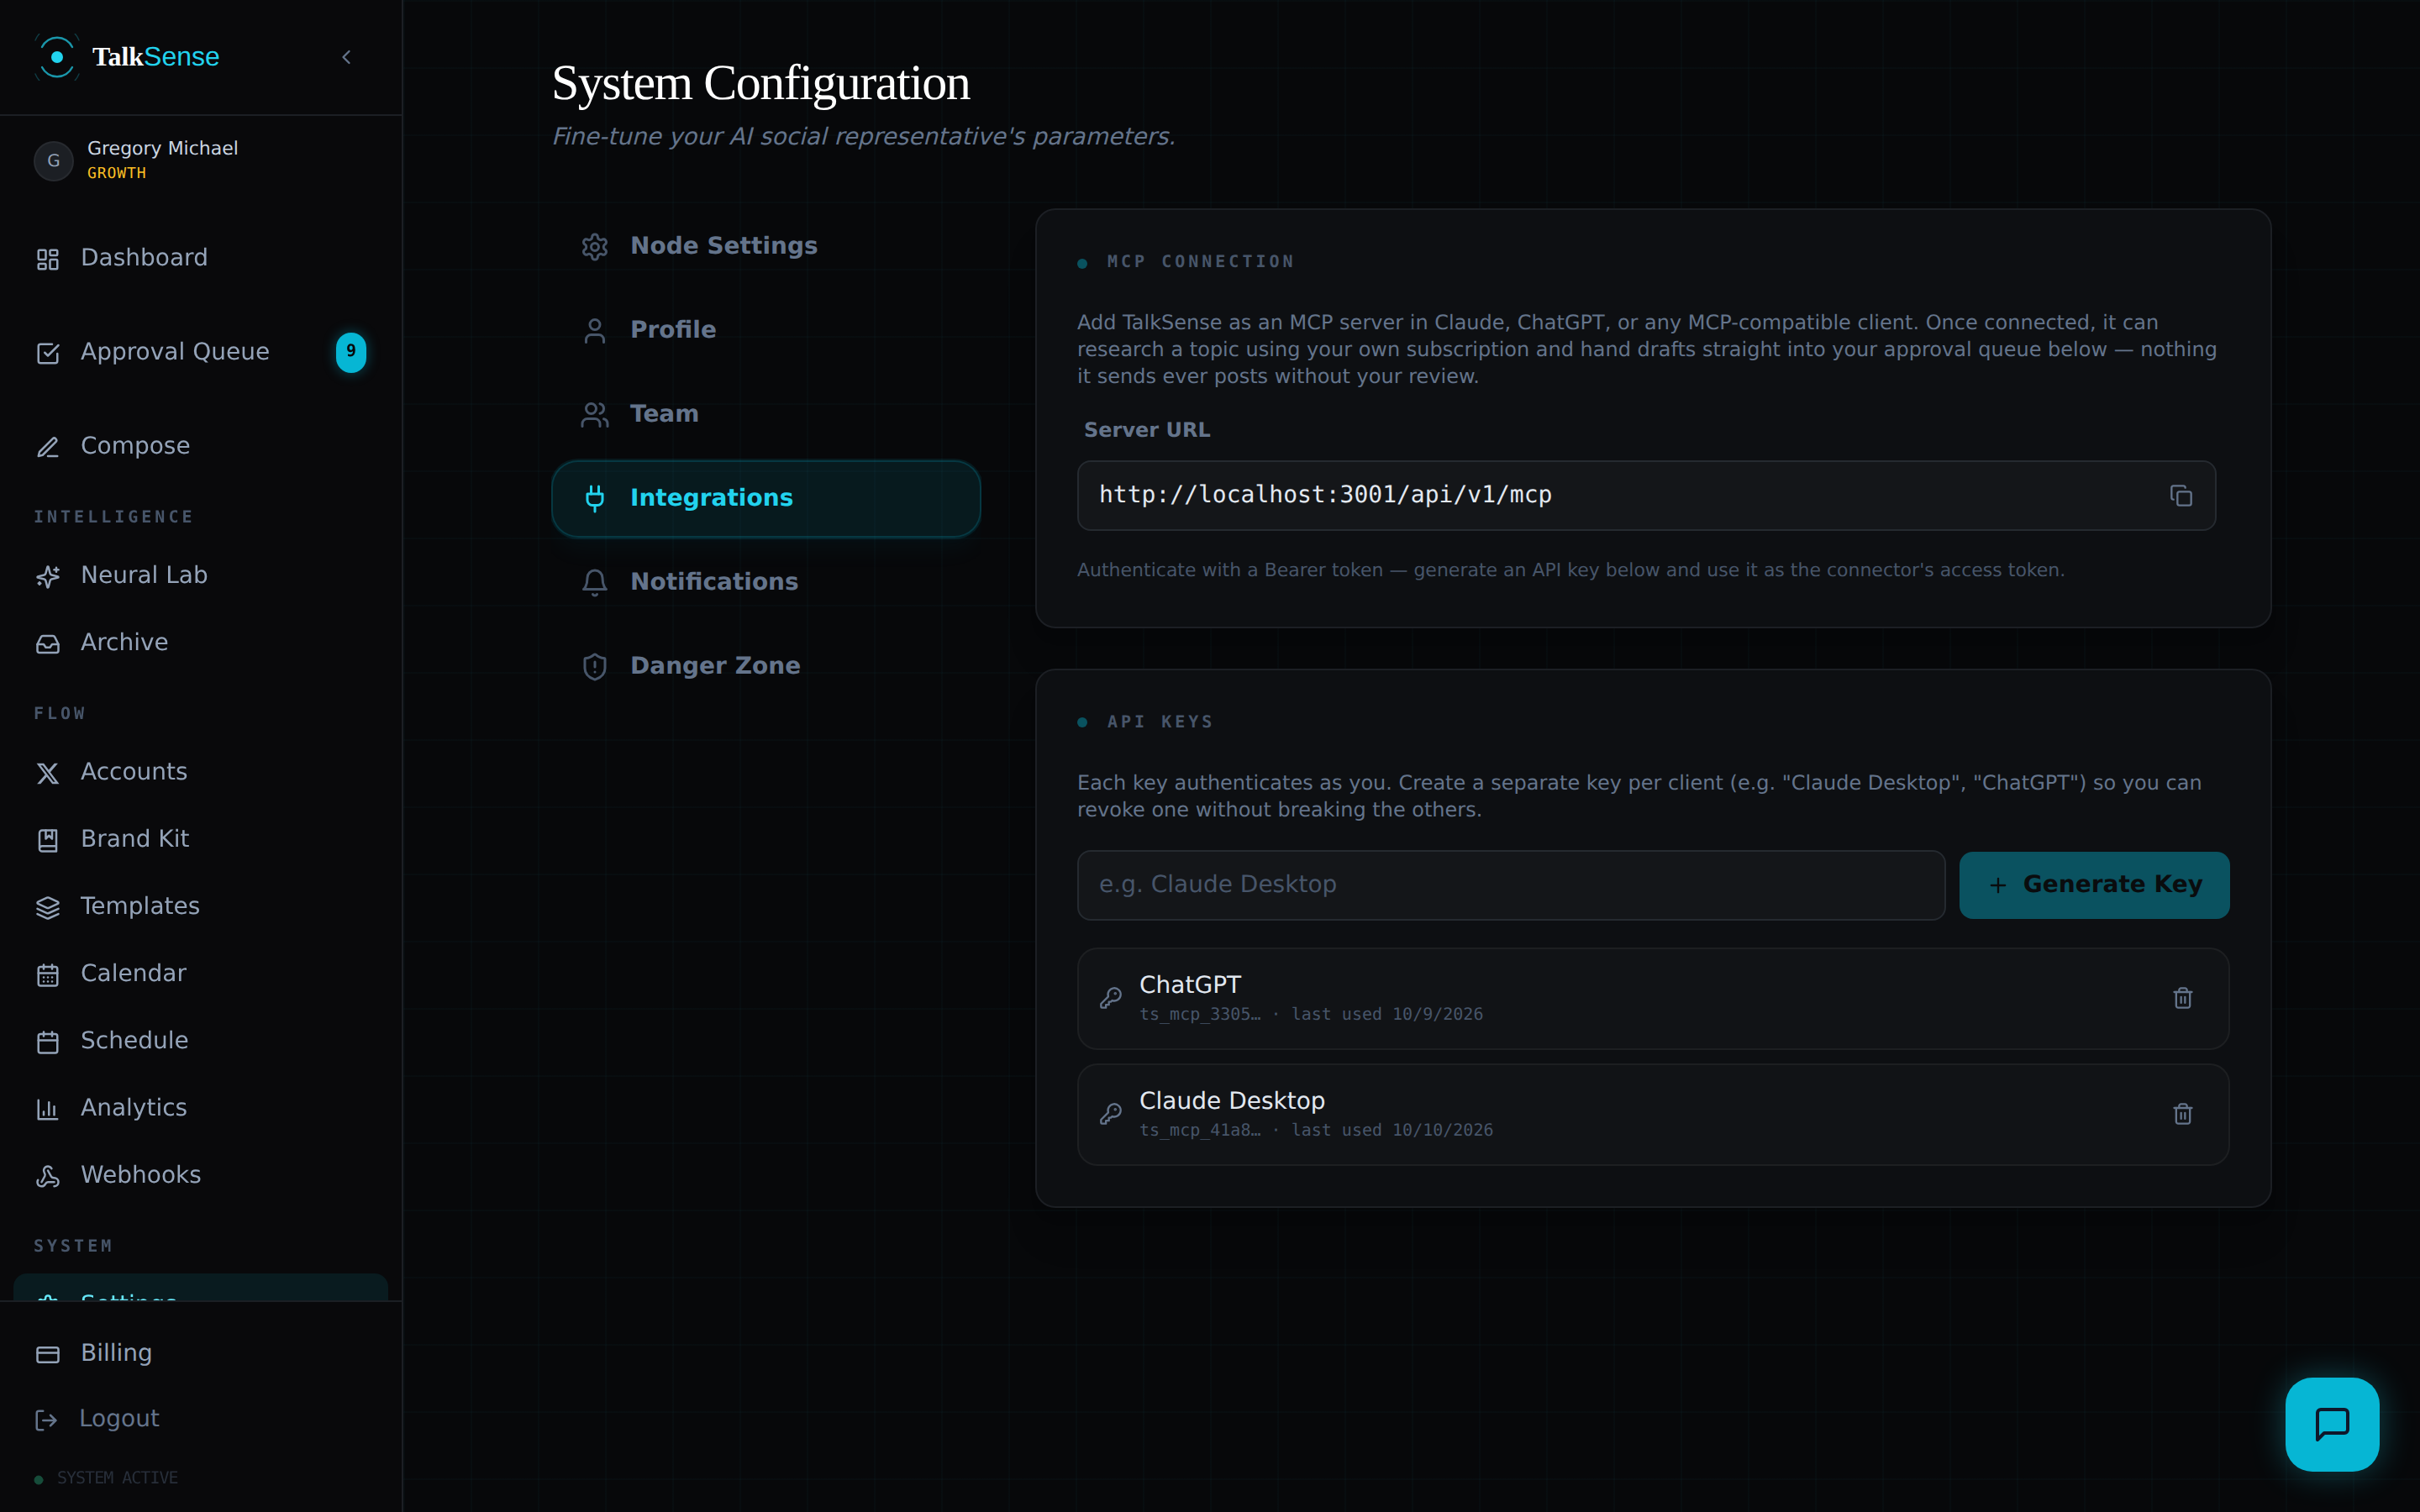
In TalkSense, go to Settings → Integrations. Under API Keys, name the client you're connecting — e.g. Claude Desktop — and click Generate Key.
The key is shown exactly once. Copy it now — TalkSense never displays it again, only a prefix to help you tell keys apart later.
Note your server URL
Just above the API Keys panel, MCP Connection shows your server URL — it's your TalkSense domain plus /api/v1/mcp. You'll need this and the key from step 1.
Add it to Claude Desktop or claude.ai
Current versions of Claude support remote MCP connectors directly: Settings → Connectors → Add custom connector, then paste your server URL and set the access token to the key from step 1.
If your version only reads a local config file, bridge it with mcp-remote instead:
{
  "mcpServers": {
    "talksense": {
      "command": "npx",
      "args": [
        "-y", "mcp-remote",
        "https://api.talksense.idey.click/api/v1/mcp",
        "--header", "Authorization:Bearer ${TALKSENSE_API_KEY}"
      ],
      "env": { "TALKSENSE_API_KEY": "ts_mcp_..." }
    }
  }
}Add it to ChatGPT
In ChatGPT, open Settings → Connectors (menu names shift between plans and versions — look for "custom connector" or "developer mode"), create a new connector, and supply the same server URL and bearer token.
Try it
Ask your assistant something like:
It'll call list_accounts, then get_brand_kit, then create_draft — in that order, without you naming the tools yourself.
Review it in your queue
Open the Approval Queue — the draft appears with a 🔌 via MCP badge and a pending status. Edit it if you want, then approve like any other draft.
Available tools
- list_accounts — your connected accounts
- get_brand_kit — one account's brand context
- list_recent_drafts — avoid duplicate suggestions
- create_draft — queue a post for review
Troubleshooting
- 401 Unauthorized — the key was revoked or mistyped. Generate a new one in Settings → Integrations.
- No tools showing up — double-check the URL ends in /api/v1/mcp, no trailing slash.
- Draft never appears — check the Queue's account filter; it may be scoped to a different connected account.
Keys are revocable any time from Settings → Integrations — revoking one only breaks that client, not the others. You can have up to 10 active keys per account.
06 · Scale
Team, webhooks & billing
Team & collaboration
Invite a collaborator from Settings → Team. They get full operational access — compose, approve, schedule — but never billing, account deletion, API keys, or webhook management.
Bring your own AI key
Settings → Profile → BYOK. Route generation through your own OpenRouter, OpenAI, Anthropic, Groq, or Google AI key instead of TalkSense's.
Outbound webhooks
Webhooks → Outbound. Get an HMAC-signed POST to your own URL whenever a post publishes — wire it into Slack, a data warehouse, anywhere.
Inbound webhooks
Webhooks → Inbound. Let an external service trigger a post on a specific account via a per-account secret — useful for your own custom integrations.